
Transfer Your Website With No Downtime (4 steps)
- On March 28, 2016
Transferring your website to a new plan or new hosting provider might be a complicated process. Especially if you want to avoid any downtime and not lose any traffic. We’ve thus created an easy-to-follow guide on how to transfer your website with no downtime. It’s all about following the steps in the correct order, and our 4-step guide are structured in such a way that ensures a smooth transfer.
This particular tutorial will focus only on the migration between two shared plans that both use cPanel. However, if your VPS or dedicated server uses cPanel, this tutorial will work as well.
If you want to know how to move your website that doesn’t use cPanel, please check our VPS and dedicated tutorials here.
1. Get access to your new cPanel plan
Whether you’re moving to another host, or upgrading/downgrading your existing plan, you need to start by getting your new cPanel login details. While you’re placing a new order, the hosting provider will usually ask about your domain and whether you’re going to:
1) register a new domain;
2) transfer your domain from another domain registrar;
3) or if you’re going to update your nameservers.
In this example, we will assume that you will be transferring your website to the same domain and that you will update the nameservers. This is the only option that ensures no downtime with an existing domain.
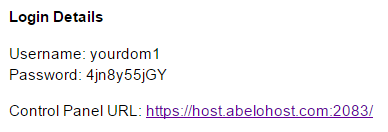
Go ahead and select the third option and place an order. You should automatically receive the new information. Open the email, and look for the cPanel details. With AbeloHost, it should look something like this:
When you click on the link, it should direct you to a page with cPanel’s logo:
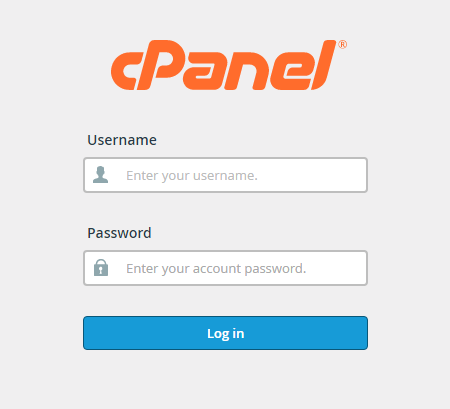
Don’t login yet. We will use the new login details at a later step.
2. Backup your data on your old shared plan
Now that you have your new shared plan, you’ll need to make a specific type of backup on your old shared plan. A backup is basically a downloaded version of your website and all its associated files. This backup will be used to later upload to your new shared plan.
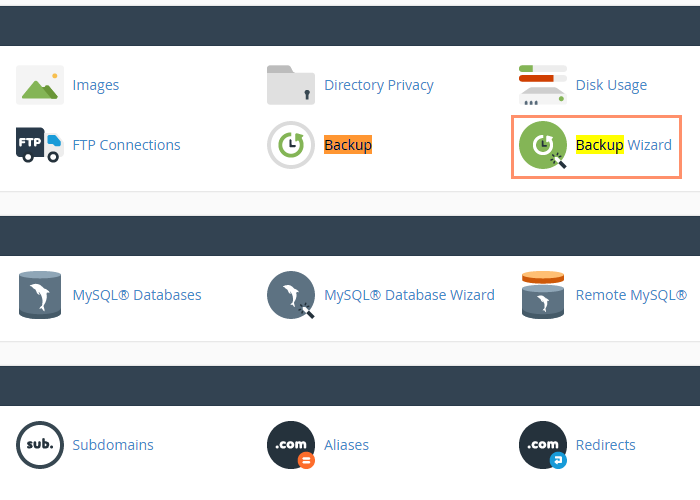
Login to your Cpanel account of your old host and locate the “Backup Wizard” section.
Once opened, it will ask you whether you want to backup or restore. Click on backup. This will lead you to the following page:
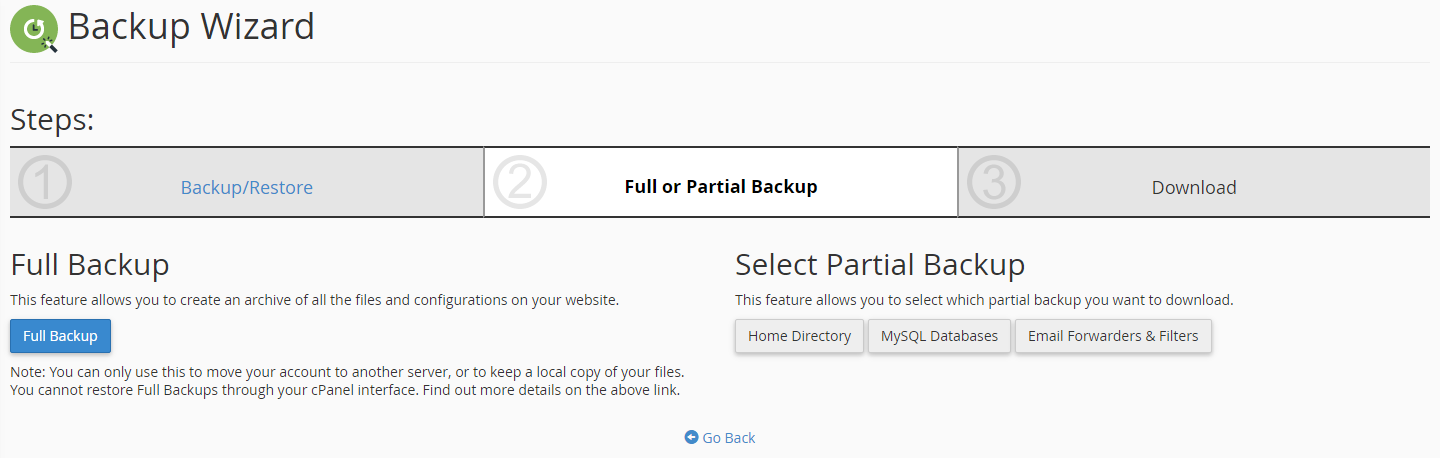
First click on Home Directory. The Home Directory contains your site’s main “public_html” folder, which holds the files of what is actually displayed on your domain right now. Choose to download it somewhere on your computer that you can easily find back later. Once that’s finished, go back to the partial backup section and download your MySQL database.
The backups will be downloaded in .zip or .gz format, which can be opened with WinRAR. Keep it that way. Don’t decompress them.
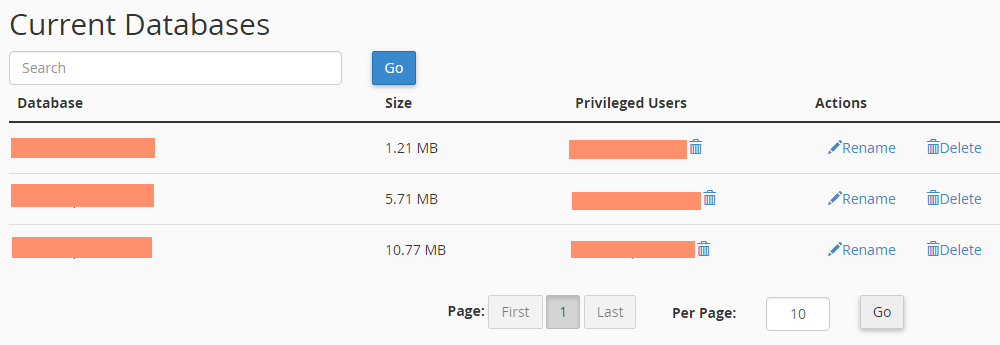
If you have several databases, and you don’t know which database holds the data of your current website, it is usually the one that is largest in size. To check this, click on MySQL® Databases (back on cPanel’s navigation page) and it will display all of its sizes.
3. Upload your data on your new shared plan
Now that the website is downloaded, go ahead and login to your new cPanel using your new login details. Locate Backup Wizard once again, and select Restore this time. It will ask you what it is that you want to restore. Click on Home Directory and then MySQL Databases and upload the two files that you’ve just downloaded.
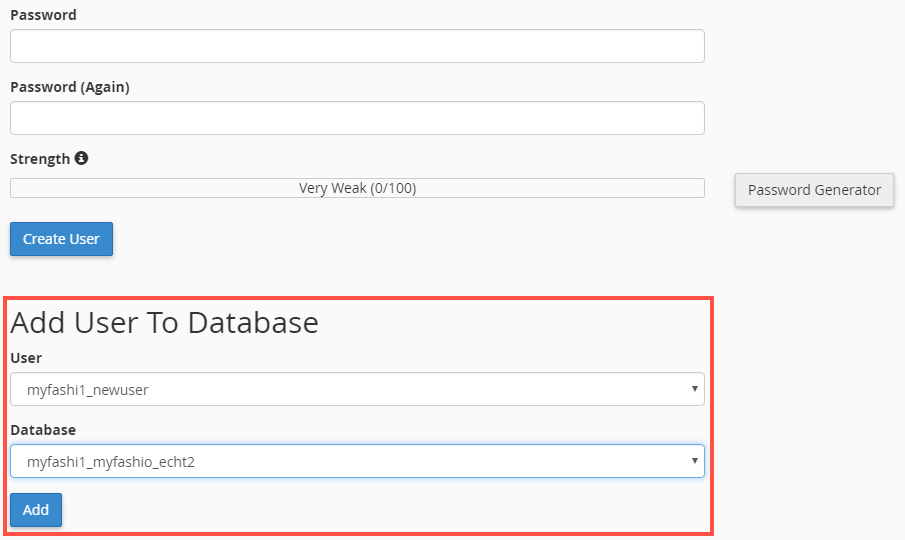
Once you’ve done that, go to MySQL Databases. You should see your newly uploaded database. It’s probably called differently, but that doesn’t matter. Go ahead and create a new database user, and connect the new user to the database that you’ve just uploaded, like so:
Once that’s completed, login into FTP of your new server. The login details are your IP address, your cPanel username, and your cPanel password. Open the public_html map and locate the wp-config.php file (if you’re using WordPress) or .htaccess if you’re just using a plain HTML site. Open it and you should find your Database name, Database user, and Database password, like so:
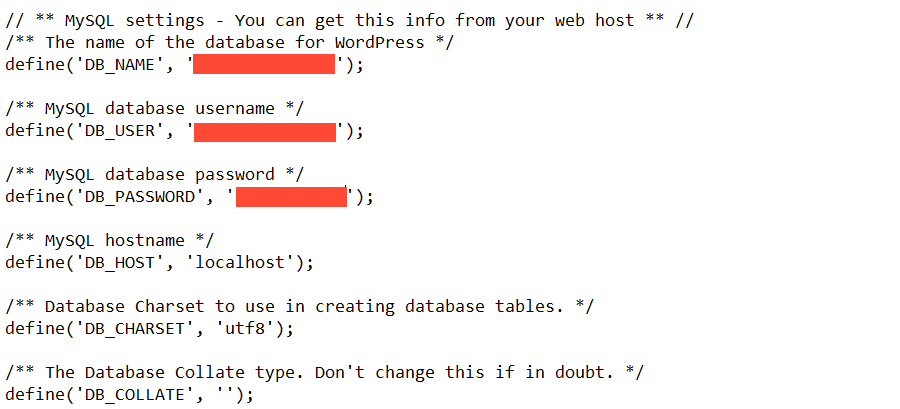
Change it to the new Database and to the Database user that you’ve just created.
4. Change the nameservers to point to your new shared plan
Now all you have to do is change the nameservers to point to your new shared hosting. If you are with hosting with AbeloHost, our nameservers for shared hosting are:
NS1.ABELONS.COM
NS2.ABELONS.COM
If you are transferring your website to another hosting provider, check the email with your cPanel login details. It should also include the nameservers. If not, I suggest contacting your hosting provider.
You can change the nameservers in your domain registrar’s client area. It’s usually in the Domains section of your client area. Once you’ve done that, give it 24 hours for the nameservers to update.
You can track the change on who.is. Once the nameservers have updated, and your website is working, you can go ahead and cancel your old shared plan. You have now successfully migrated your website to another shared plan without downtime.