How to install and secure WordPress in cPanel
- On July 19, 2019
After you purchase a server with cPanel, you can easily install WordPress on it. cPanel comes with two pre-installed tools: WordPress Manager and Softaculous. You can use either of them, but we recommend Softaculous because of its security settings.
In Softaculous, you can customize WordPress auto-updates and plug-ins, which will help you avoid the issues associated with website and server hacking.
Now, we will demonstrate how you can install WordPress through WordPress Manager and Softaculous.
WordPress Manager
You can find the WordPress Manager icon in the Application section.
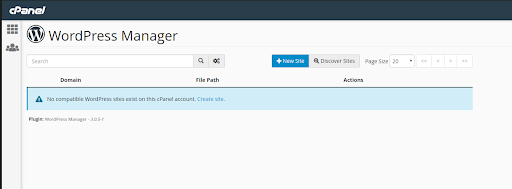
After you click on the icon, you will be taken to the WordPress Manager control panel.
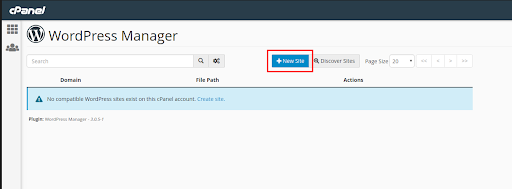
Here, you can manage your sites and create new ones. Let’s try to create a new site. To do this, we will click on the button “New Site”.
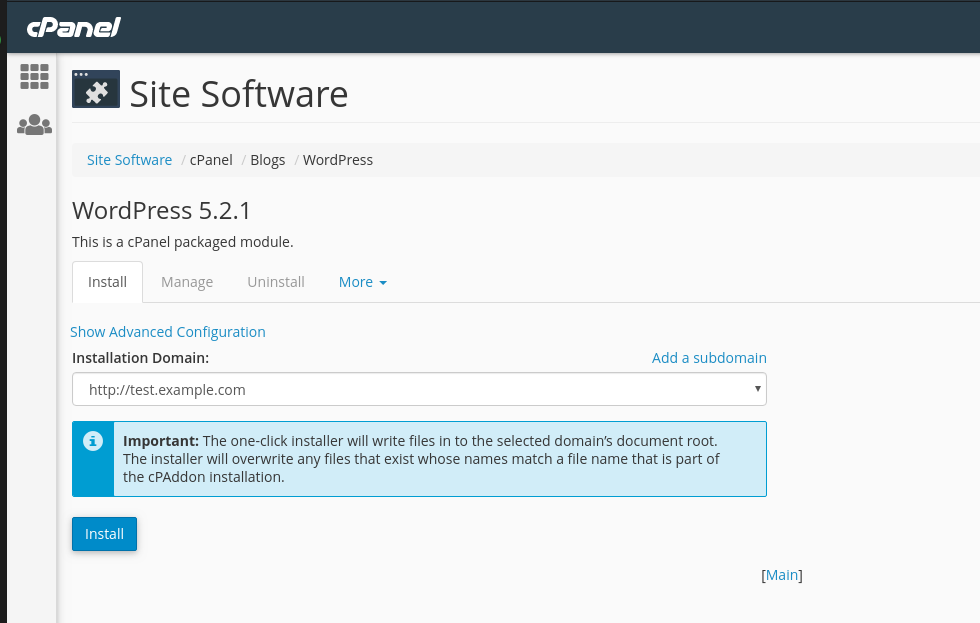
After clicking on the button, you will be taken to the domain selection page on which you will select the domain where you will install WordPress.
When you click on the Install button on the selected domain, cPanel will install WordPress. You will be given the administrator password, which you can use to log into WordPress.
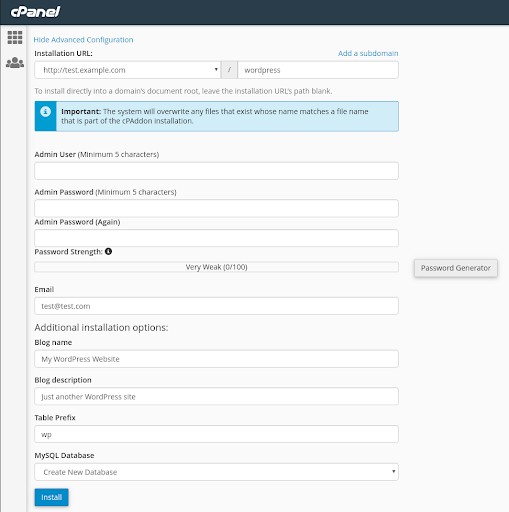
Let’s take a look at the Show Advanced Configuration tab now.
On this tab, you can choose the folder in which WordPress will be installed, if necessary.
If you need to install WordPress at the root of the site – remove the “wordpress” prefix after the domain.
Next, you can choose a username and a password. You can also choose which database to use, i.e. you can create a new database or use an existing one.
When you configure the required fields, press the “Install” button.
After that, you will be given the login details for the administrator account of your site.
You have successfully installed WordPress, but that’s not all.
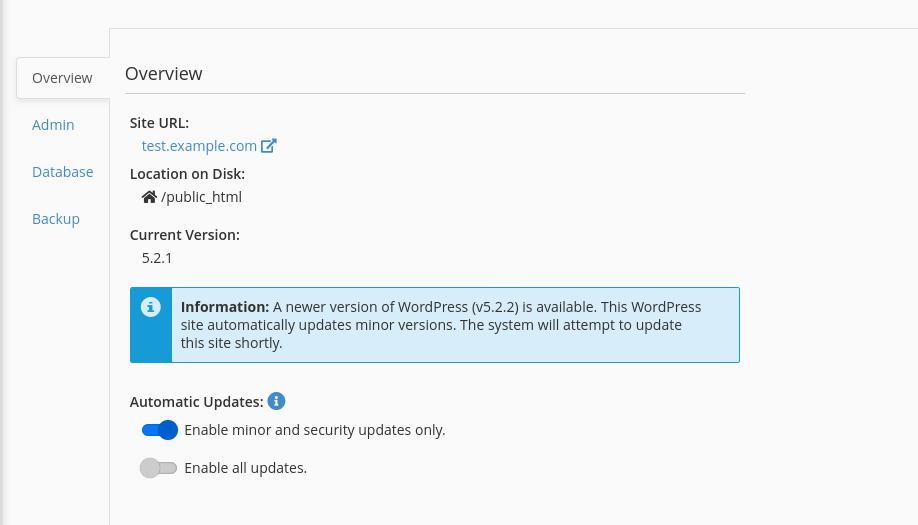
If you now open the WordPress manager and click “Manage” in front of your domain, you will find the WordPress auto-update settings.
By default, only security updates will be enabled, but you can activate all updates to improve the security and the performance of your website.
This brings an end to our segment on installing WordPress through WordPress Manager. Next, we will explain how to install WordPress on your website using Softaculous.
Softaculous Apps Installer
Let’s focus on installing WordPress via Softaculous now.
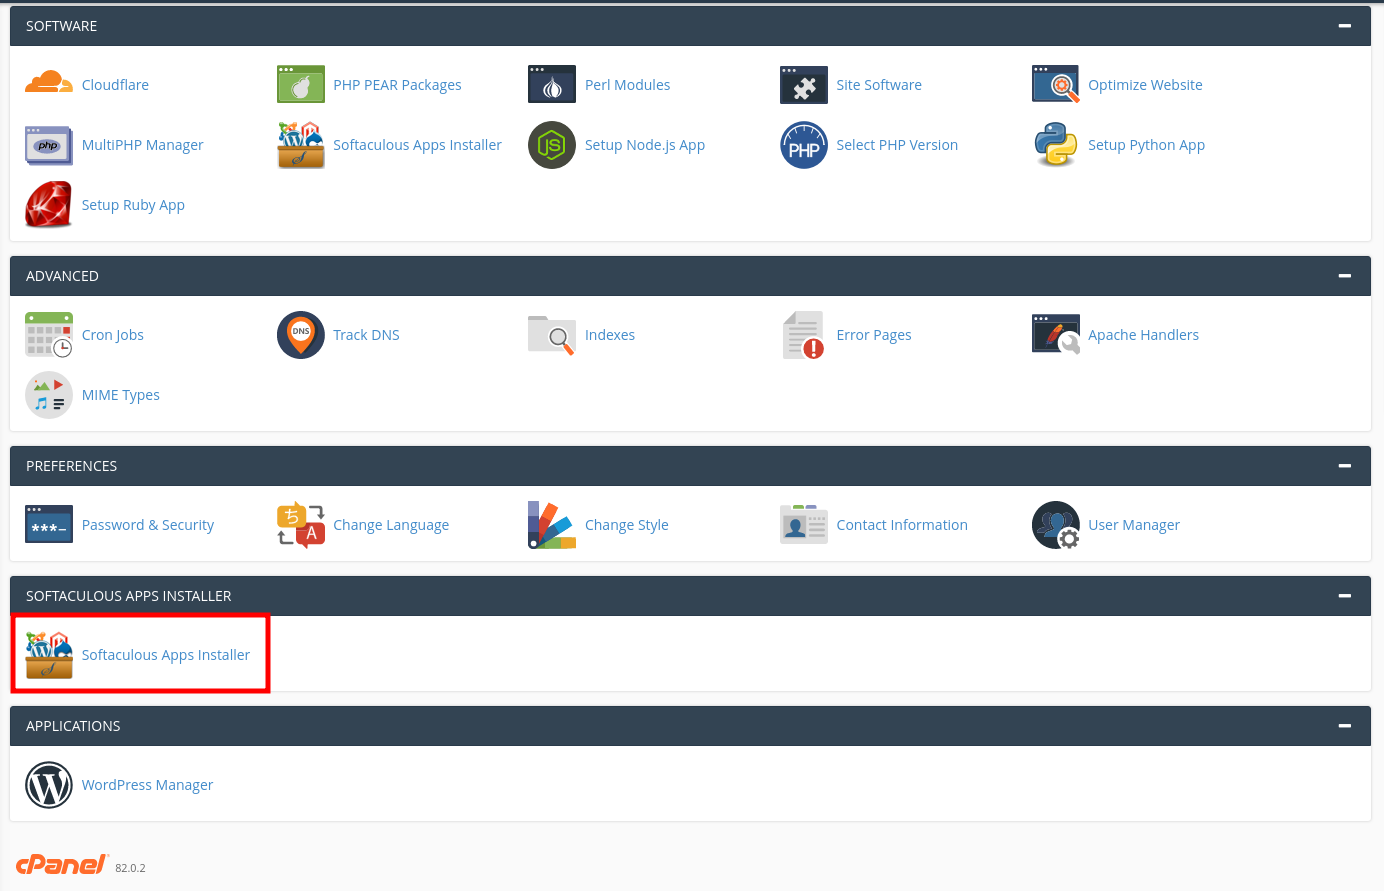
First, you will need to find the Softaculous icon in cPanel.
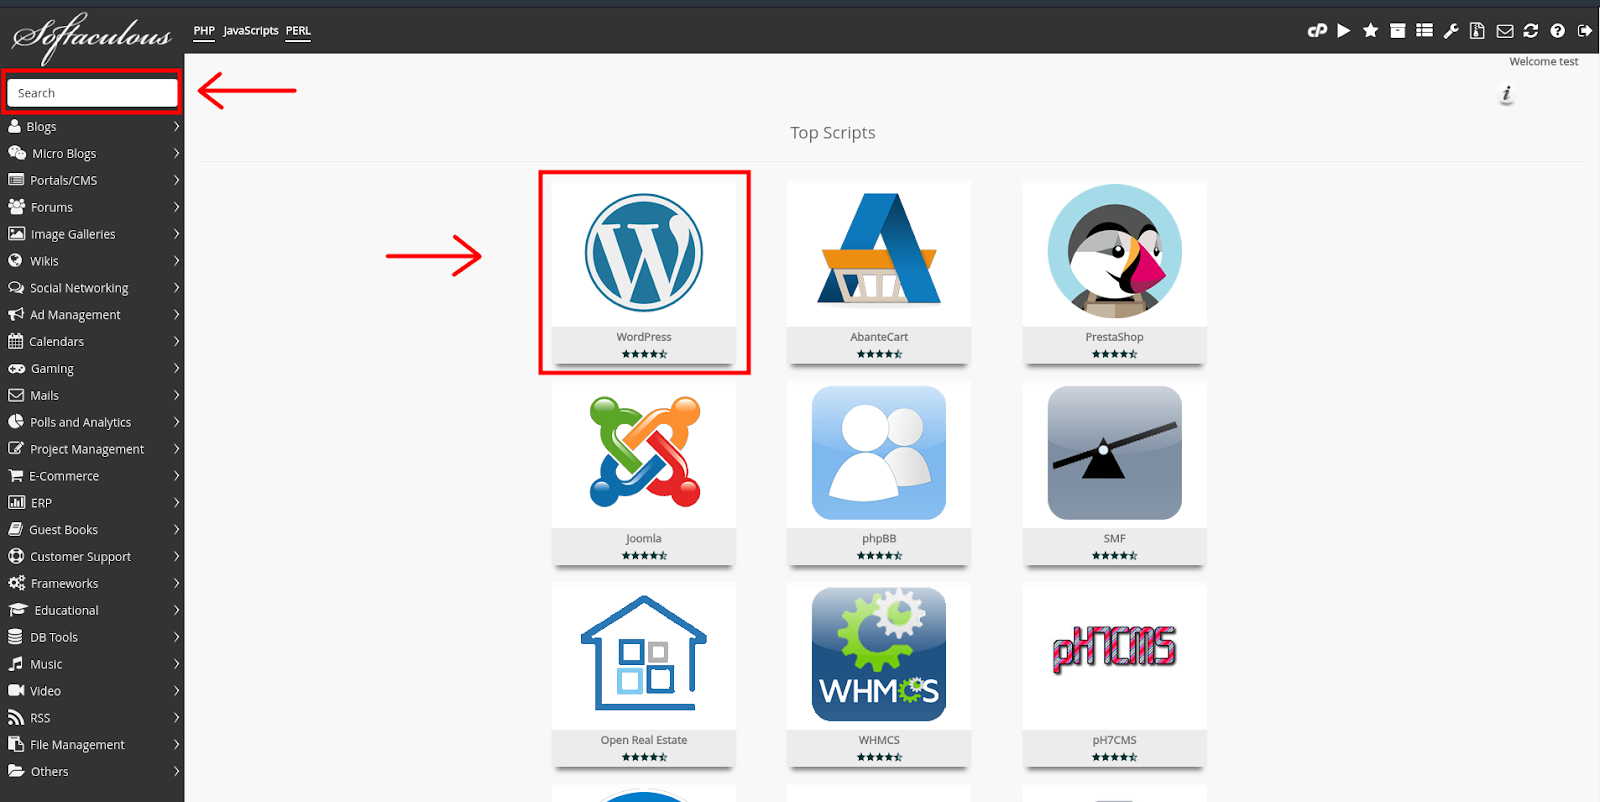
After you click on the Softaculous icon, you will be taken to its main page.
On the main screen, you will see WordPress. If you don’t see the WordPress icon, you can use the search bar in the top left corner to find it.
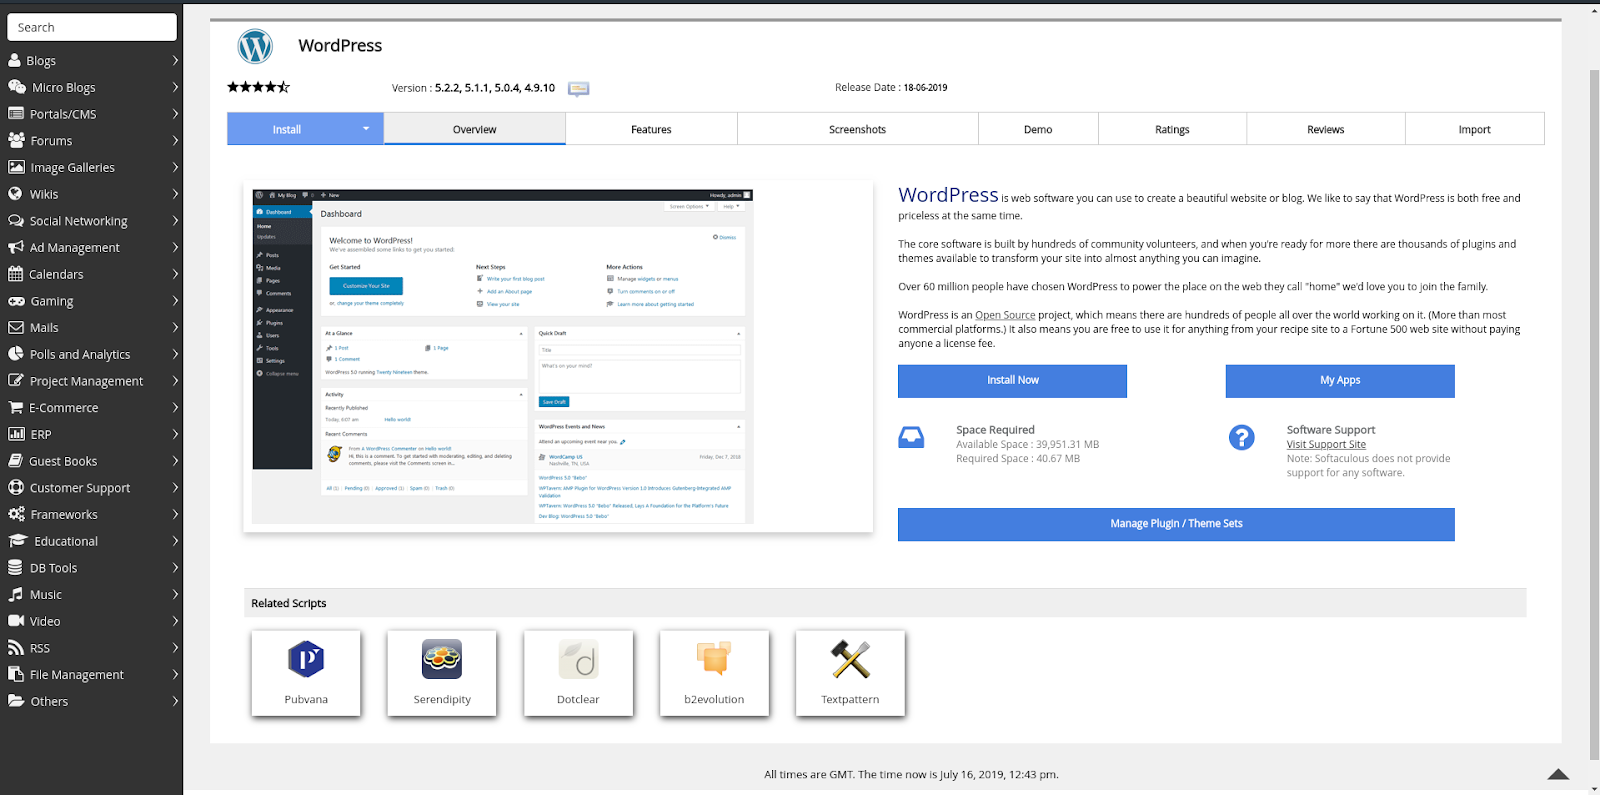
After you open the WordPress installation page, you will get the following screen.
On this page, you should click “Install Now” and you will be taken to the WordPress installation setup page.
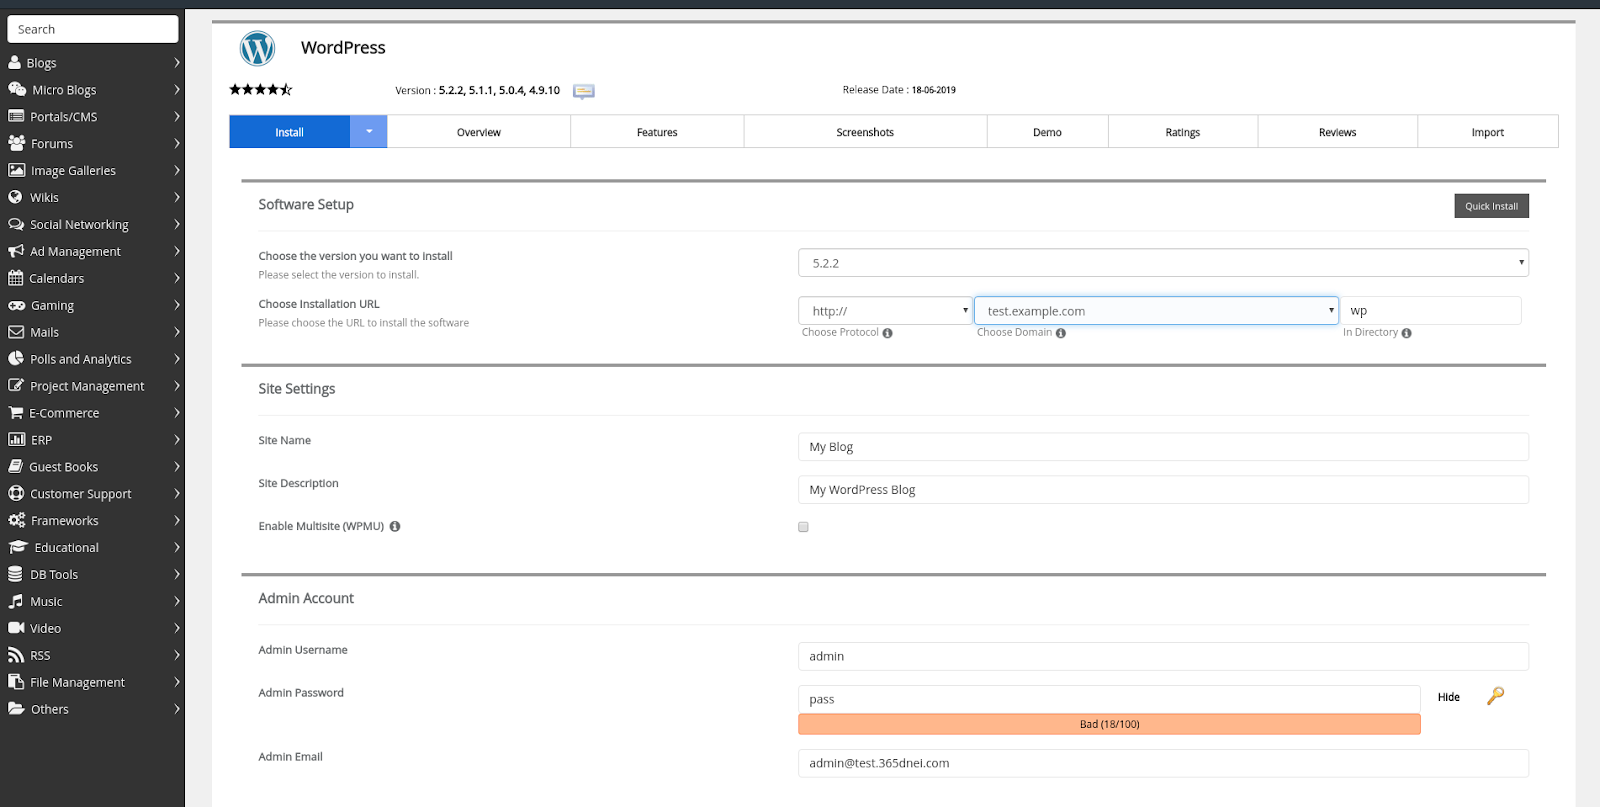
Let’s examine the WordPress installation settings.
To begin with, you can hide some settings by activating the Quick Install switch. However, we will leave this switch in its original position and explore all the settings.
In the Software Setup tab, you can select the WordPress version and domain on which you need to install WordPress. If you need to install WordPress in the root directory – remove everything from the “In Directory” field.
In the following tabs, you can choose the name of your site, the administrator profile settings and the pre-installed plugins.
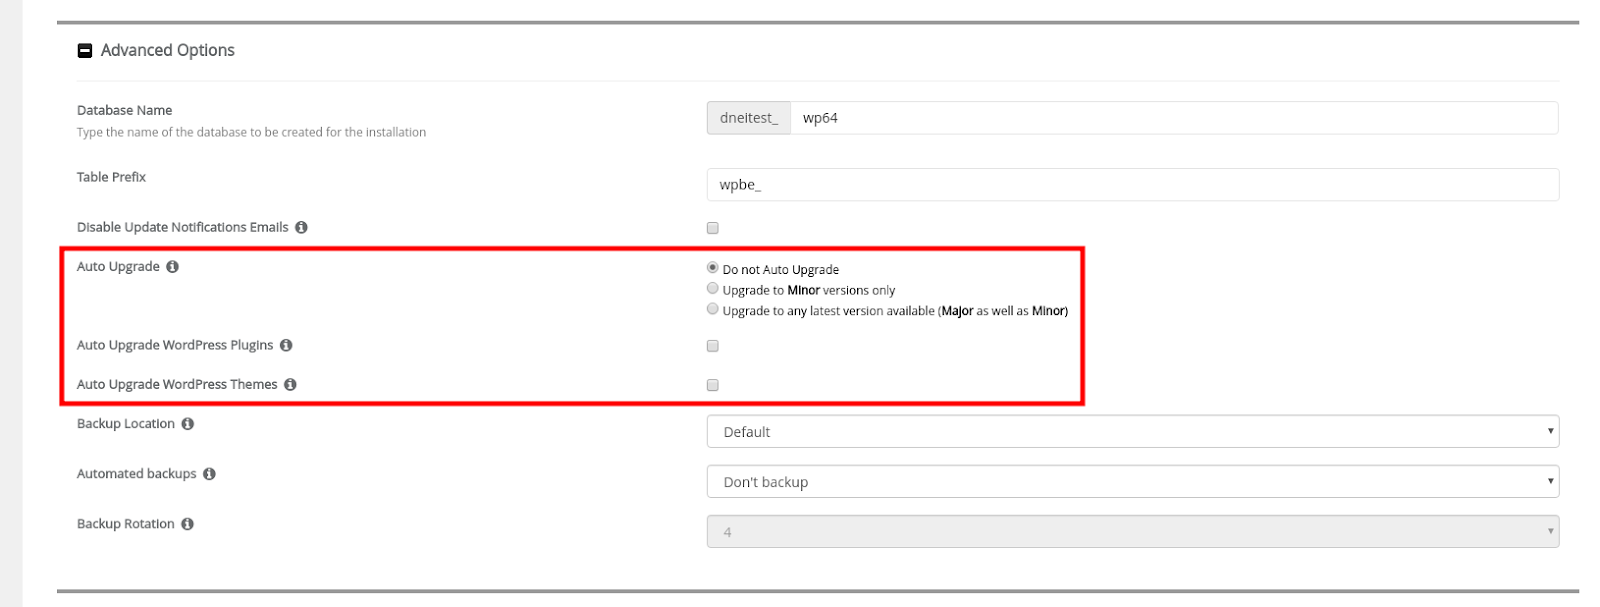
Let’s move to the most interesting part – the tab called “Advanced Options”. Press on the tab name to expand it and you should see the following settings.
In this tab, you can configure the database and auto update settings.
Unlike WordPress Manager, the Softaculous installer allows you to configure automatic updates for plugins and themes. We will activate this option.
However, you should be careful, because auto-updates may disrupt your website in some cases!
You can also customize the WordPress updates itself and choose which updates you want to receive. If you select to receive only minor versions, you will need to install the major updates manually. If you choose all updates, the system itself will automatically install both major and minor updates.
After you have everything set up, scroll down and click the “Install” button. Softaculous will inform you when the installation finishes and it will send you a link to wp-admin.
This completes the installation of WordPress through Softaculous. If you need any help installing WordPress on your domain, remember that you can always contact our technical support for help.


