How to Set up Cloudflare DNS
- On January 28, 2021
Cloudflare is a popular CDN service that is designed to improve the security of your website and protect it against the most common online threats today. With Cloudflare, you get protection from DDoS attacks, identity theft, SQL injections, and an overall improvement in speed and site performance. What makes the service unique is that it is not in fact a hosting provider, so you can use it on any site, regardless of what hosting provider or hosting plan you are using.
In this guide, we will show you how to set up your Cloudflare account and configure the DNS (Domain Name System) so your website can take advantage of everything the service has to offer.
1. Create Your Cloudflare Account
If you do not have a Cloudflare account yet, you can sign up for the service here. You will be asked to provide a valid email address and a password. After creating and confirming your account, log in to Cloudflare to get started.
2. Add Your Domain to Cloudflare
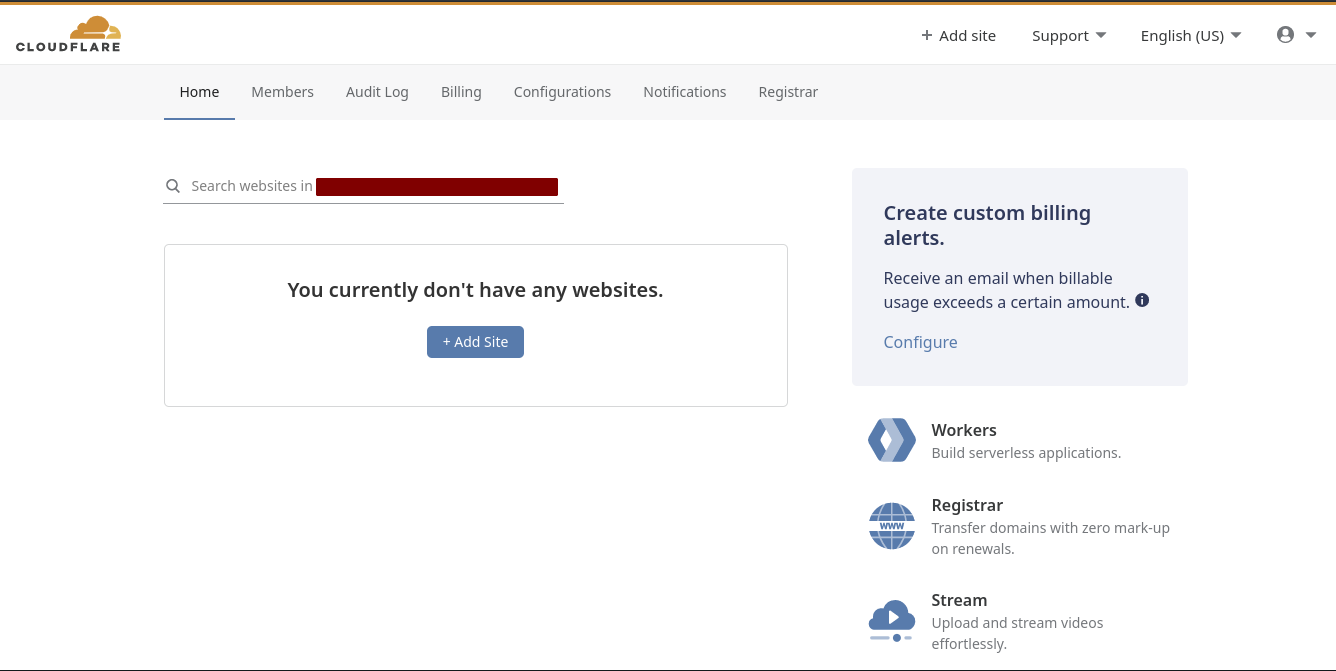
Since you do not have any domains added to Cloudflare just yet, your home page will look like the image above. Click on the Add Site button and enter the domain name you have for your website.
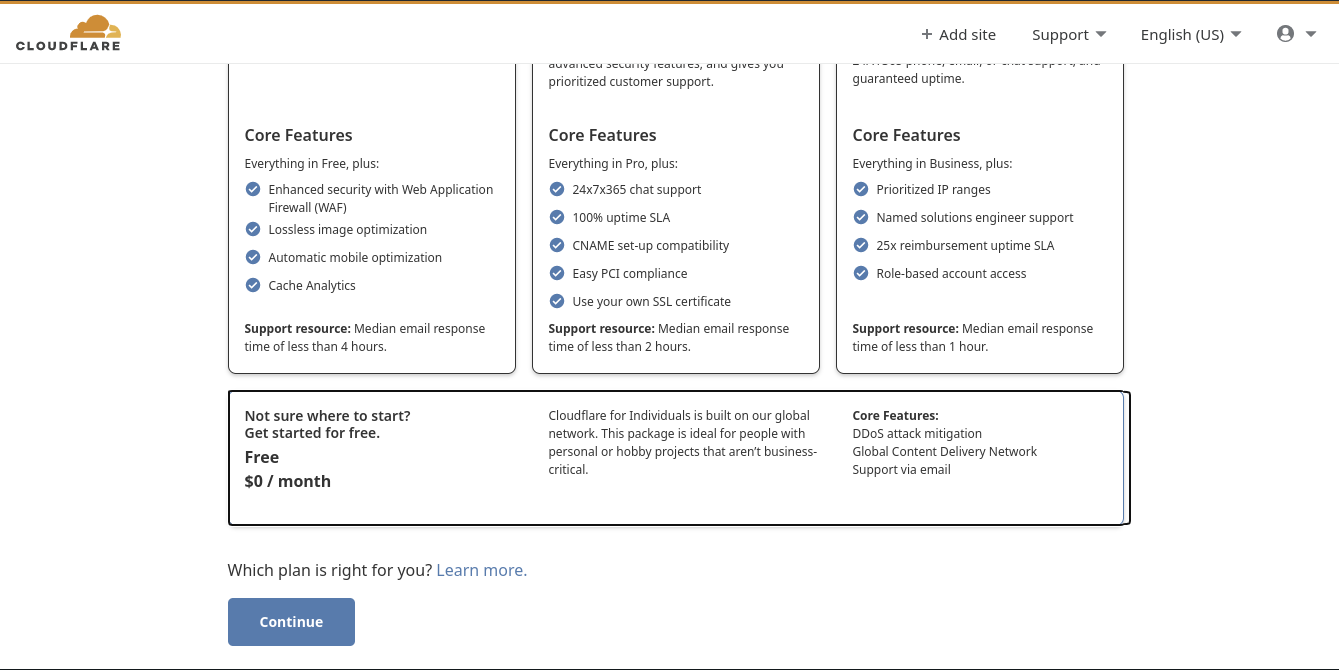
A screen will pop up, asking you to select a payment plan. You can choose to be a free user since all the basic functionality you need will be available even if you do not pay.
3. Managing Existing DNS Records
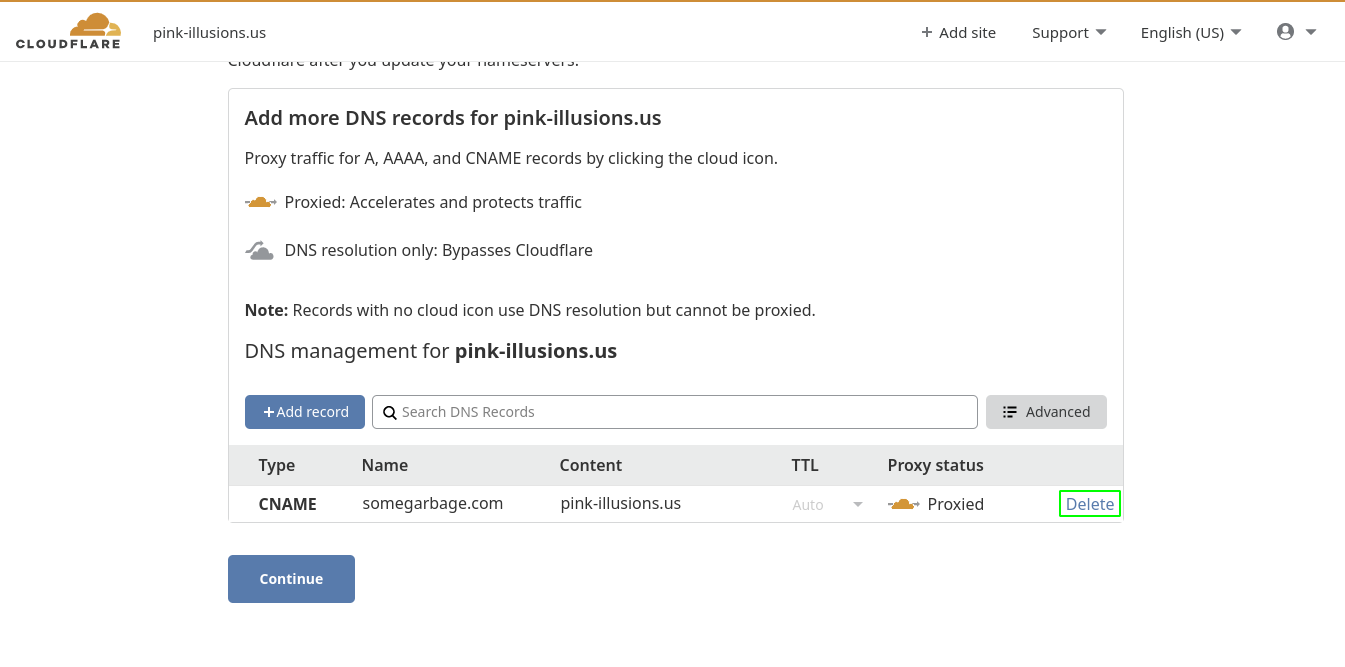
Next, you will see the interface for adding or deleting DNS records for your chosen domain. You can review the entries you already have and delete some if necessary. For a brand new domain, the DNS records list will most likely be blank.
Cloudflare allows you to use proxies for IP addresses, essentially hiding them and having the service act as a CDN for your website. While this method provides you with extra protection, it will prevent you from obtaining SSL certification for your domain. If you are in the process of obtaining SSL, disable proxying until after the certificate is installed.
4. Add the Required DNS Records
There are several types of DNS records that you can set up in Cloudflare, depending on the specific user needs. Below, you will find a brief explanation regarding each one.
Type A
Allows you to connect a domain or a subdomain to an IP address.
CNAME
This type of DNS record is used to connect a domain name to another domain or subdomain.
MX
MX DNS records are used specifically for setting up SMTP protocols and email services.
TXT
The final type of DNS record is used to store a variety of information. Examples include:
- DKIM
- SPF
- Verification Codes
- DMARC
In order to set up Cloudflare DNS for your website, you need to have an A record and a CNAME record for your domain.
The vast majority of website administrators use a control panel to manage their database and DNS records. The process of setting up Cloudflare DNS is different from one platform to the next. In the lines below, we will take a look at two of the most popular control panels — cPanel and Hestia CP.
4.1. Setting Up Cloudflare DNS with cPanel
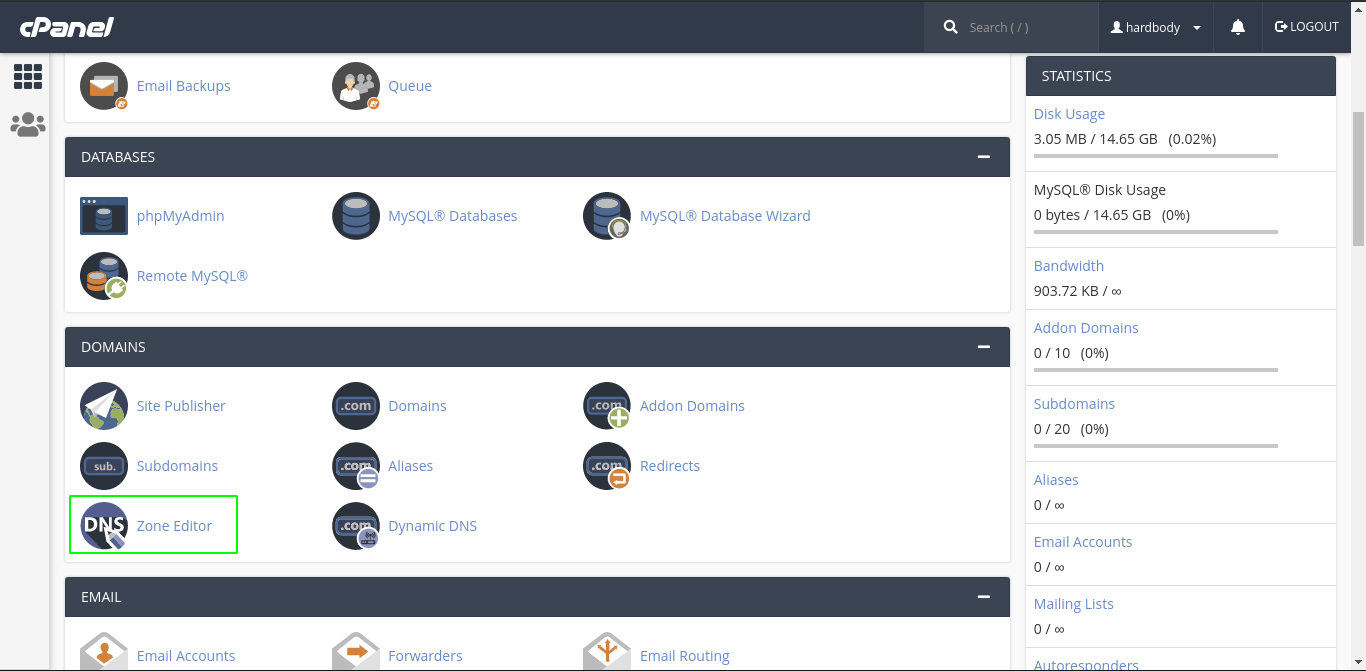
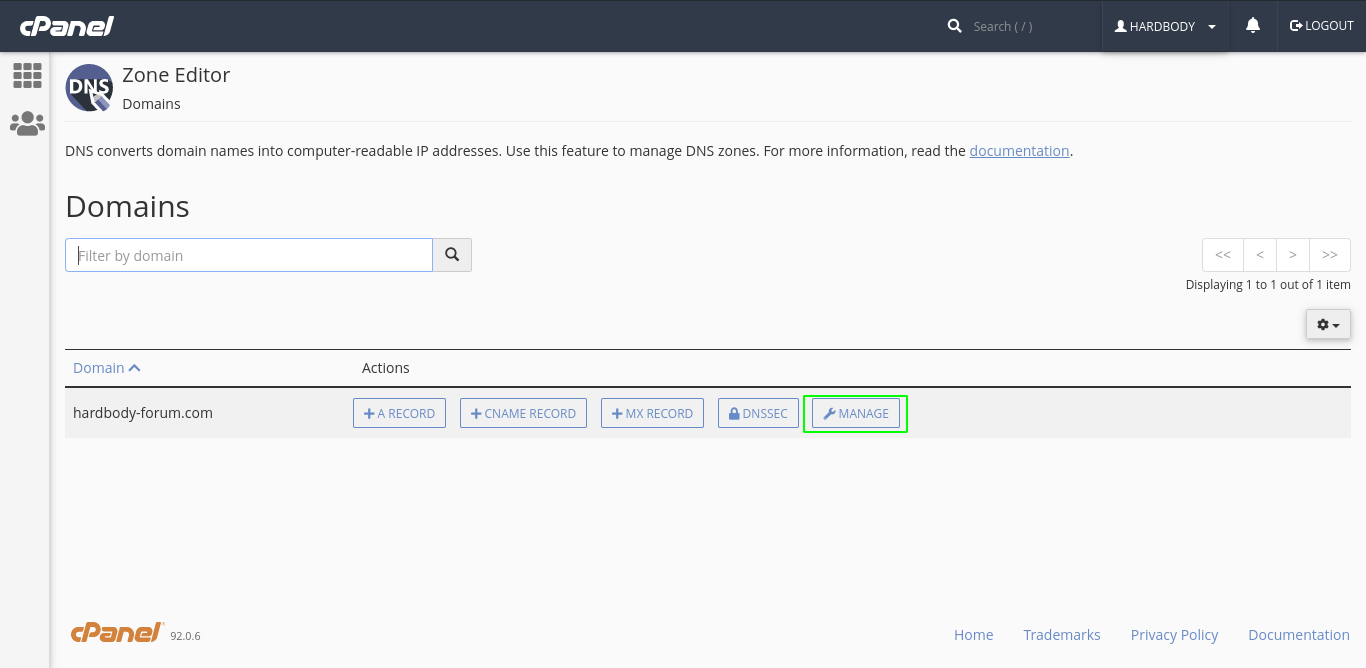
Log into cPanel and open the Zone Editor tab.
Once the new window opens up, find and click on Manage.
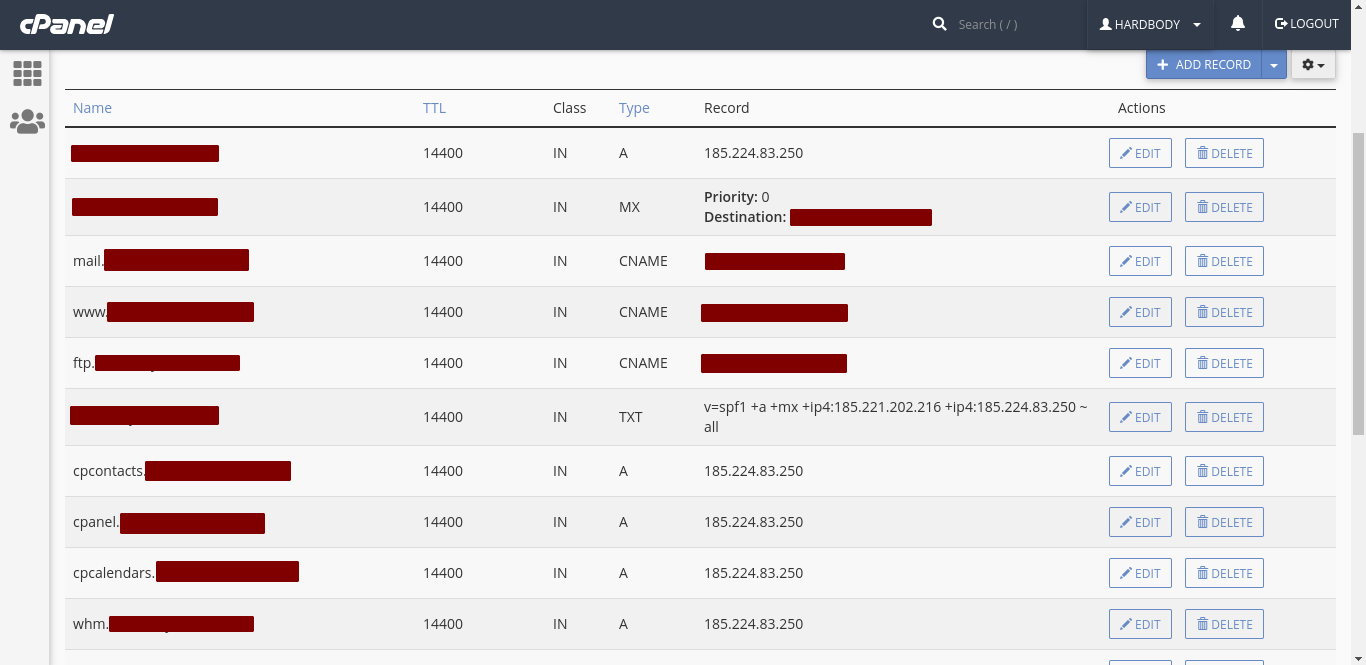
You will now be able to see all DNS records you need to input into Cloudflare.
Cloudflare will automatically add the appropriate TXT records, so you do not need to copy the entire line. For example, instead of _cpanel-dcv-test-record.domain.com, you can simply input _cpanel-dcv-test-record. Please see the image below for reference.
4.2. Setting Up Cloudflare DNS with Hestia CP
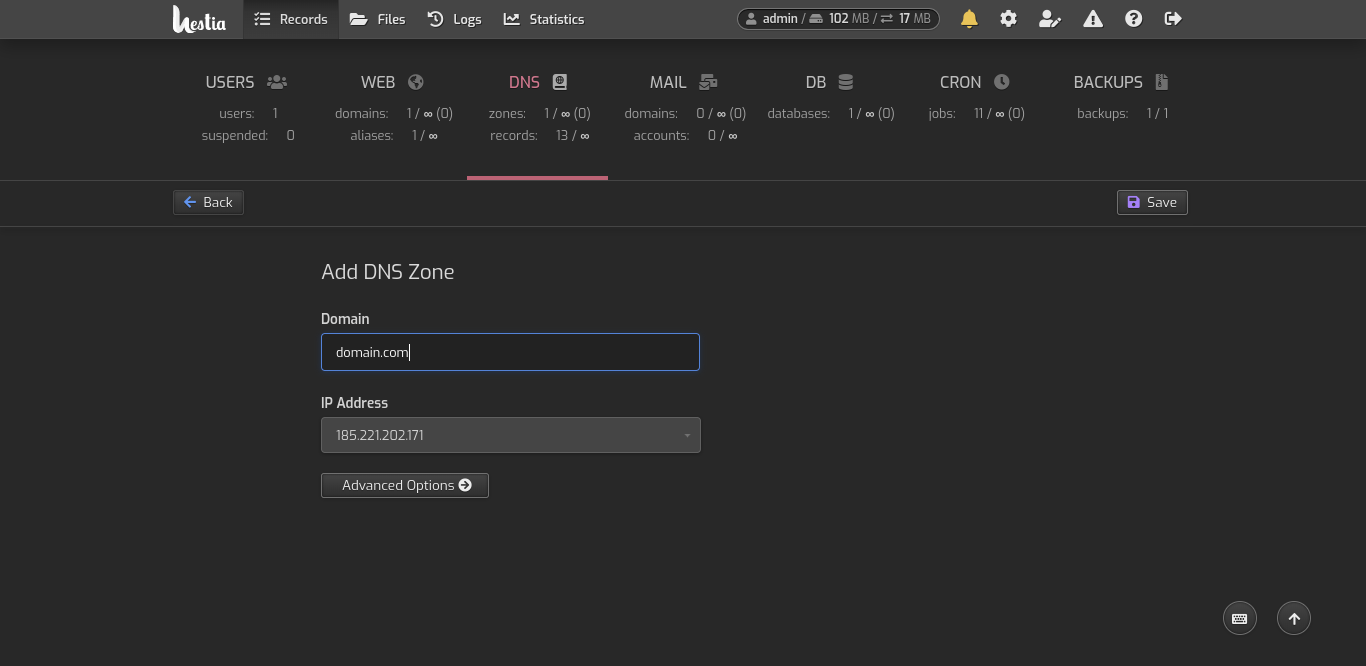
Log into Hestia CP and go to the DNS tab. Select Add DNS Zone and enter your domain name.
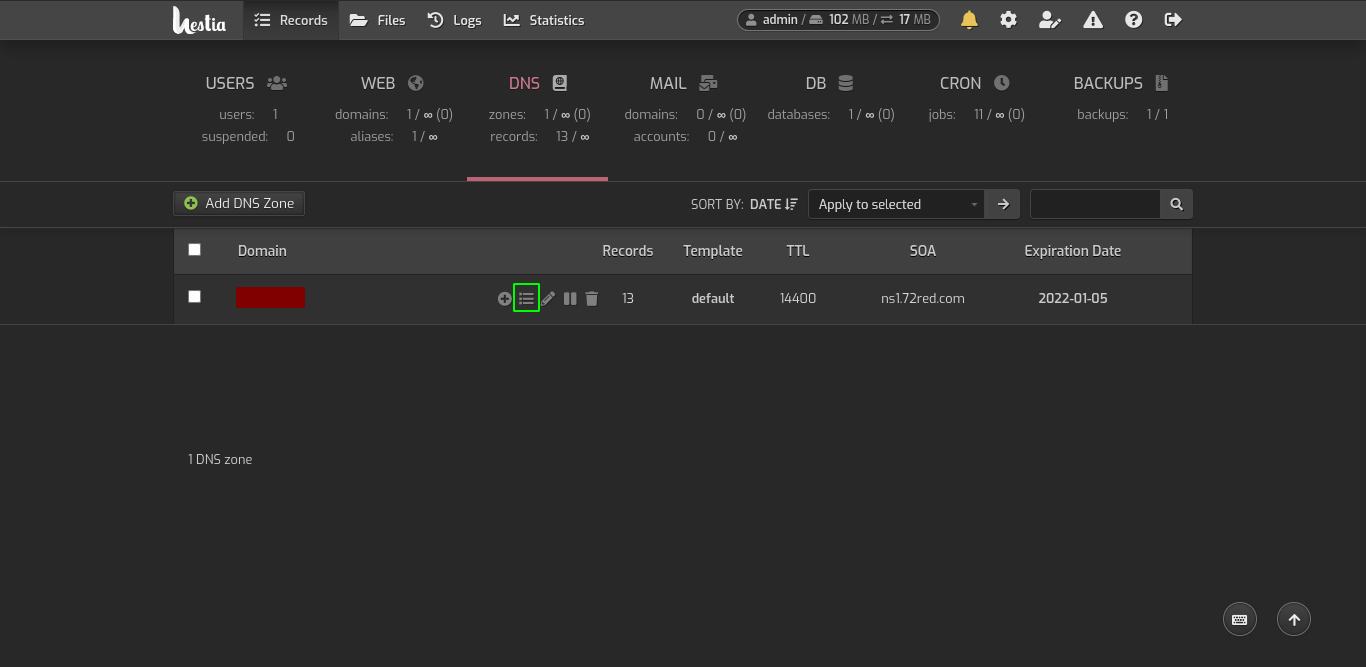
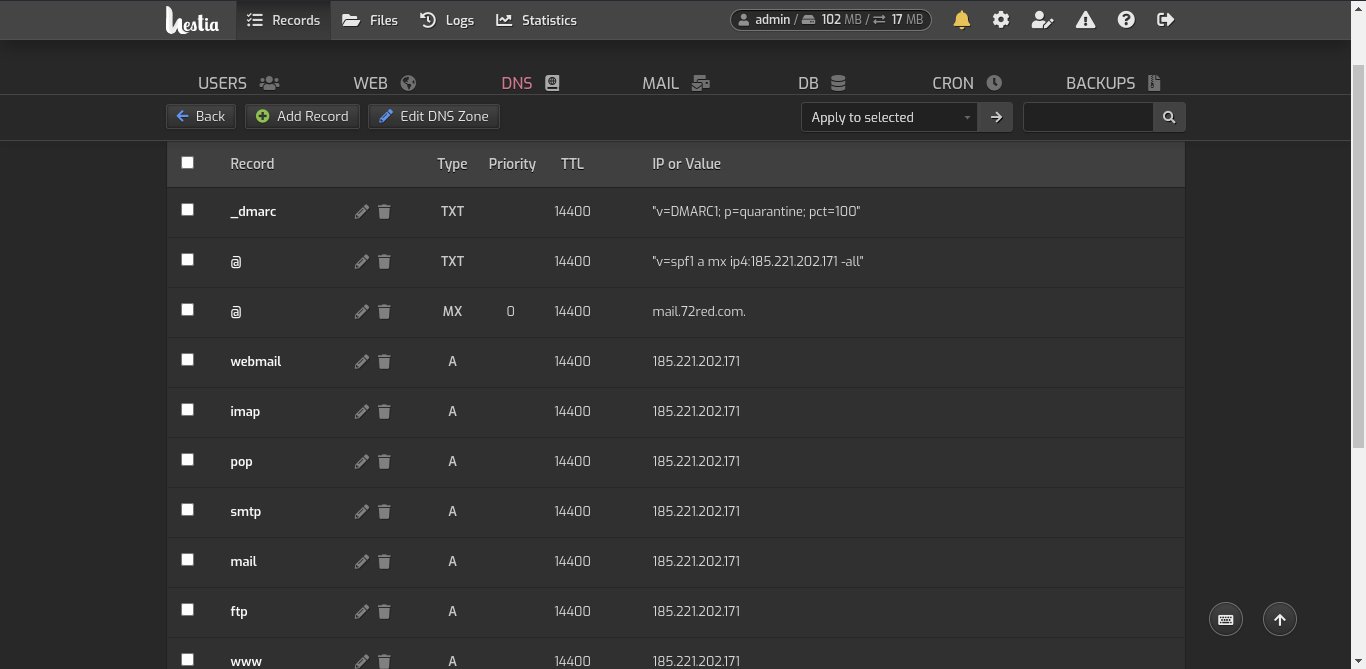
Once you are ready, your domain will be visible in the list of DNS zones, as shown below. Click on Records to see the DNS information you need for Cloudflare.
When you press the Records button, you should see the following records table.
5. Complete the Configuration
Once you enter all needed DNS records into Cloudflare, click on the Continue button to finish the configuration. You will see a set of nameservers (name.ns.cloudflare.com) that you need to enter at your domain provider in order to complete the setup.
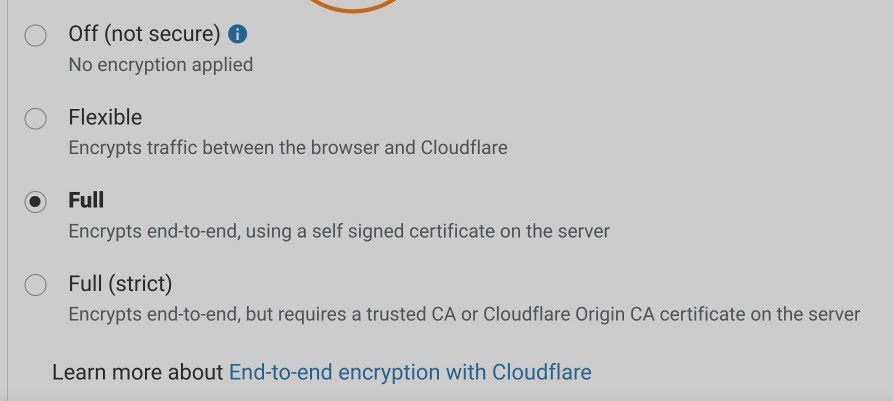
In some cases, the SSL Cloudflare configuration can cause some issues, including “too many redirects” errors. In order to mitigate this, make sure you have selected the Full option in Cloudflare’s SSL/TLS tab.
6. Change Nameservers at Your Domain Provider
Changing nameservers is not a complex task, but it can differ from one domain provider to the next.
The process usually takes some time to take effect (24-72 hours). It all depends on the type of domain you are using and the service provider’s policies. Once the nameservers refresh, Cloudflare will be set up and ready to use for your website.
If you need help setting up Cloudflare on your AbeloHost account, feel free to drop us a message through LiveChat. Our team will be happy to help!

