Identity protection and data privacy at you fingertip
Offshore hosting
Get StartedServer uptime 99.99%
Avg. ticket response time < 30 minutes
Identity protection and data privacy at you fingertip
Offshore hosting
Get StartedServer uptime 99.99%
Avg. ticket response time < 30 minutes
Why Abelohost?
Full management
Expert help available 24/7
As the only security-driven hosting provider on the market, we offer full management for all services, cost-free. With our experts in your corner, your data will always be safe.

Project Manager & Lead Developer

Chief Executive & Security Specialist

Head of Billing & Accounting

Senior Network Security Engineer

On-site Engineer

Creative Director

Head of Sales & Communication

DDoS protection & network firewall
Foolproof protection for all projects
Using advanced DDoS protection and threat detection algorithms, our systems guarantee industry-leading uptime for your websites.
24/7 monitoring & response
In-depth performance monitoring
We empower you to monitor the real-time performance of each server. Observe the resource use of every individual project, track website latency, and receive instant updates.
0.0ms
0255075100
20%
CPU Usage
0255075100
30%
System Load
0255075100
40%
RAM Usage
0255075100
25%
SWAP Usage
Encrypted data backup & protection
Keeping your data safe
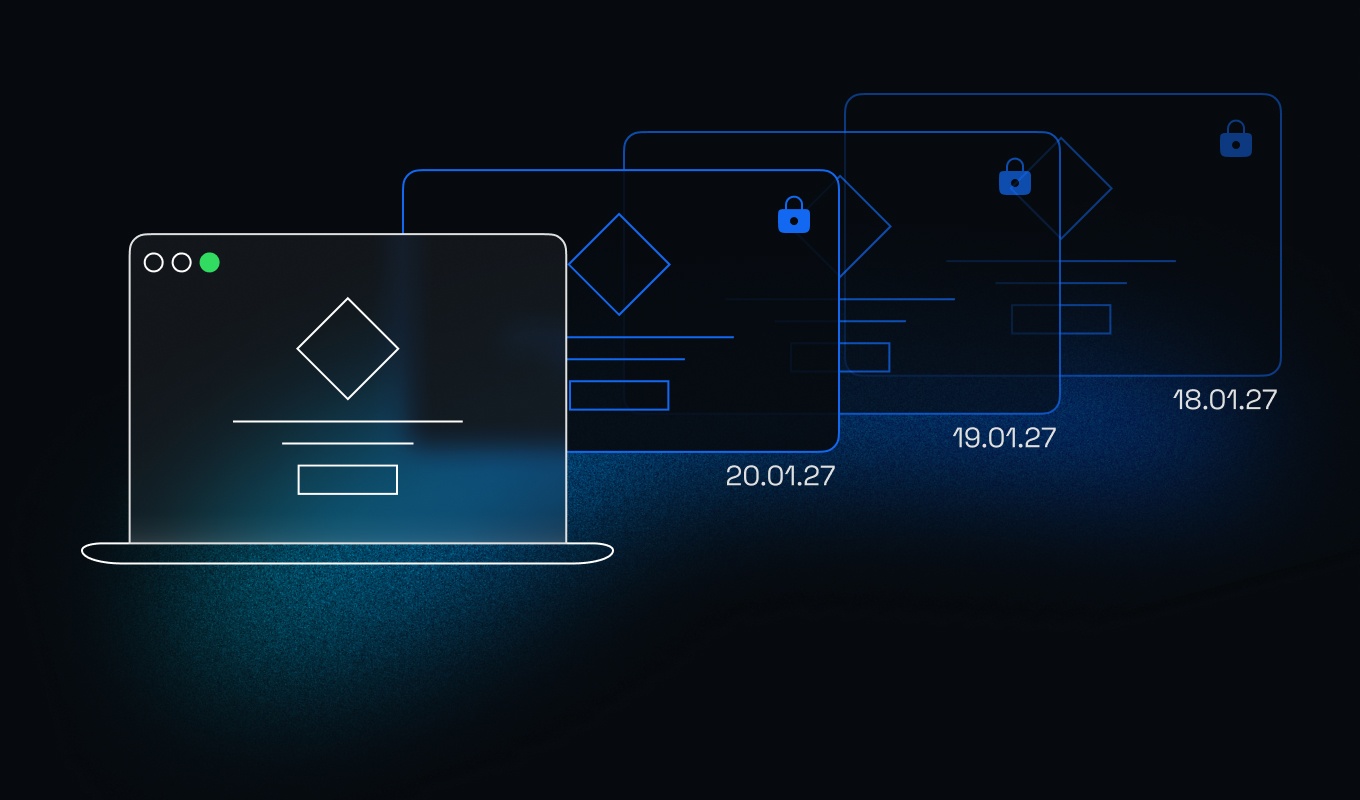
Your data is automatically backed up to an encrypted server as frequently as you want, completely free of charge.


20.01.27

19.01.27

18.01.27


Offshore capabilities
Your privacy comes first
With offshore servers placed in strategically chosen countries, we offer lenient content policies and protection against censorship.
Simple, transparent pricing
Get a privacy protected domain
.COM
€13per year
.INFO
€28per year
.NET
€14per year
.ORG
€14per year
.CO
€32per year
Our team of professionals
Every member in our team is an expert in their own field. We combine our expertise to offer unique solutions tailored to our clients’ needs.
Read our storyDeploy popular apps and services instantly
No setup fee. No commitment. Cancel anytime.


Additional security services
All-around protection for your data.
Migrate to us today
Our migration specialists can transfer your project to our servers quickly, without downtime, and free of charge.
FAQ
Find answers to common questions about our offshore web hosting solutions. Explore detailed information on features, setup, security, and more to help you make informed decisions.
Your data. Your choice.
Work with the best of the best — your projects deserve it.


